Documents

Download e-PAN Card Online
Documents

Download e-PAN Card Online from NSDL & UTIITSL: Step-by-Step Guide

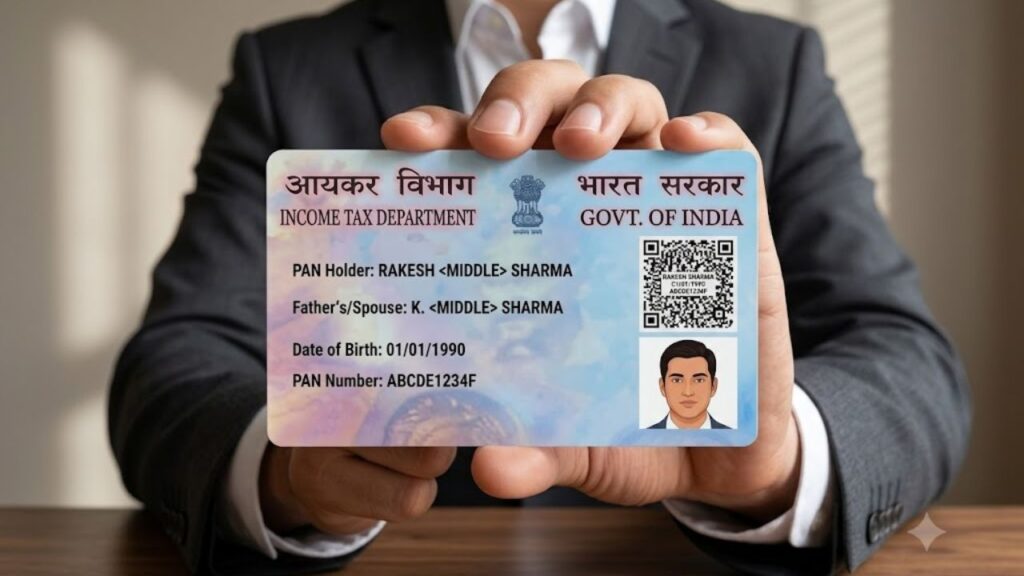
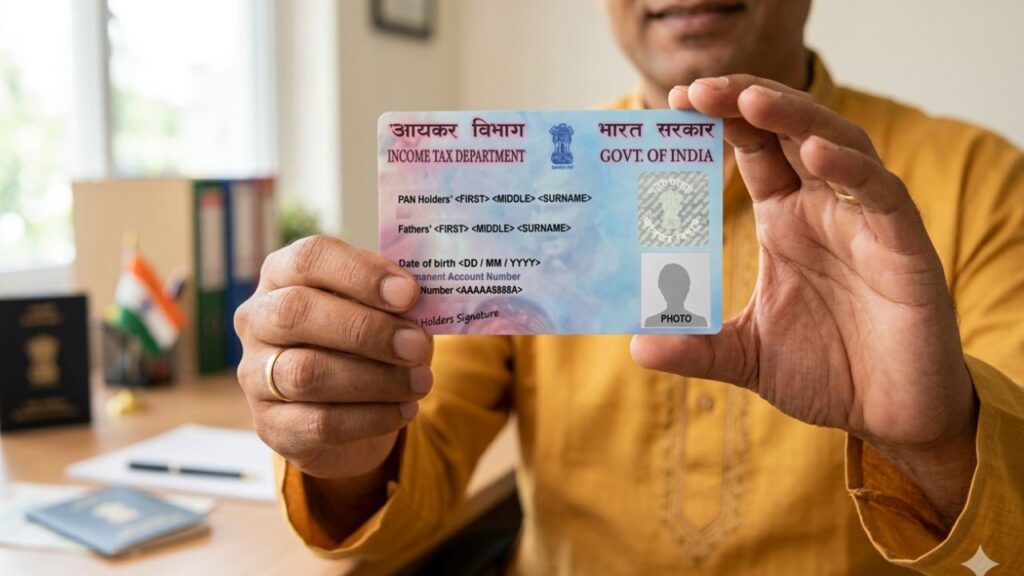
A PAN (Permanent Account Number) is one of the most important identity documents for financial and tax-related activities in India. Whether you are filing Income Tax Returns (ITR), opening a bank account, investing in mutual funds, or applying for a loan, your PAN card is required in many situations. If you have recently applied for a PAN card or misplaced your physical PAN card, you don’t have to wait for a duplicate copy. You can easily download your e-PAN online from the NSDL or UTIITSL portal within a few minutes. In this guide, you’ll learn everything about downloading an e-PAN card, eligibility, required details, charges, password, and how to update your PAN details. What is an e-PAN Card? An e-PAN is a digitally signed electronic version of your PAN card issued by the Income Tax Department. It contains the same information as your physical PAN card and is equally valid for most official purposes. The e-PAN is provided in PDF format and can be downloaded online. What is a PAN Card? A Permanent Account Number (PAN) is a unique 10-character alphanumeric identification number issued by the Income Tax Department of India. Example: ABCDE1234F A PAN card helps the government track financial transactions and is mandatory for many banking and taxation purposes. Why is PAN Card Important? A PAN card is required for many financial activities, including: Where Can You Download e-PAN? You can download your e-PAN from either of these official portals: The portal depends on where your PAN application was originally processed. How to Download e-PAN from NSDL? If your PAN card was issued through NSDL, follow these steps: Step 1: Visit the official NSDL e-PAN download page. Step 2 :Choose one of the following options: Step 3: Enter the required details: Step 4: Accept the declaration. Step 5: Complete the CAPTCHA verification. Step 6: Click Submit. Step 7: Verify the OTP sent to your registered mobile number. Step 8: Your e-PAN PDF will be available for download. How to Download e-PAN Using Acknowledgement Number? If you recently applied for a PAN card, you can also download your e-PAN using the acknowledgement number. Simply: How to Download e-PAN from UTIITSL? If your PAN application was processed by UTIITSL, follow these steps: Step 1: Open the official UTIITSL e-PAN download page. Step 2: Enter Step 3: Enter the CAPTCHA code. Step 4: Click Submit. Step 5: Verify your identity through OTP. Step 6: A download link will be sent to your registered: Step 7: Open the link and download your e-PAN. Password to Open e-PAN PDF The downloaded e-PAN is password protected. Usually, the password is: Date of Birth (DDMMYYYY) Example: Date of Birth: 15 August 1998 Password: 15081998 After entering the password, your PAN PDF will open. Who Can Download an e-PAN? You can download an e-PAN if: How Many Times Can You Download e-PAN? Generally: Can I Download e-PAN Without a Registered Mobile Number? No. OTP verification is mandatory in most cases. If your mobile number or email is not updated, you should first submit a PAN correction request to update your contact details. You can also read our detailed guide on <a href=”https://sarkaribakery.com/pan-card-correction-form/”>PAN Card Correction Form</a> if you need to update your name, date of birth, address, photo, signature, or mobile number. How to Update PAN Card Information? If any information on your PAN card is incorrect, you can request a correction online. You can update: Simply: Documents Required for PAN Correction Depending on the correction, you may need: Benefits of e-PAN Downloading an e-PAN offers several advantages: Common Problems While Downloading e-PAN Some users may face issues such as: In such cases, verify your details and try again later. Difference Between Physical PAN and e-PAN Feature Physical PAN e-PAN Format Plastic Card PDF File Delivery By Post Instant Download Validity Valid Equally Valid Signature Printed Digitally Signed Storage Physical Mobile/Computer Conclusion Downloading an e-PAN card is a quick and convenient process that saves time and eliminates the need to wait for a physical PAN card. Whether your PAN was issued through NSDL or UTIITSL, you can easily download the digitally signed PDF by verifying your identity through OTP. If you face any issues due to outdated personal details, make sure to update your information through the PAN correction process before attempting to download the e-PAN again. FAQs

Voter ID Name Change
Documents

Voter ID Name Change – How To Change Name In Voter ID Card?

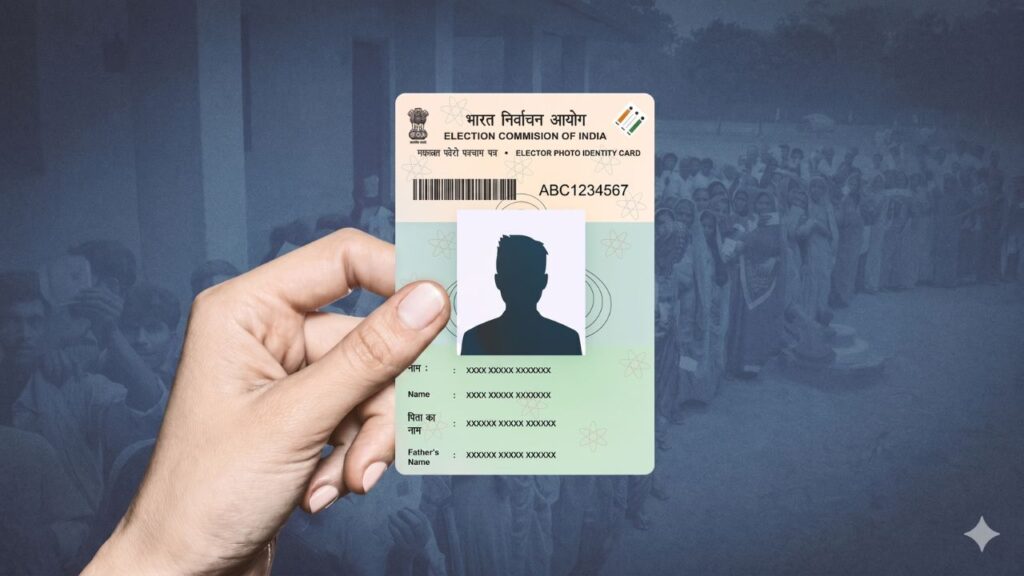
Having an accurate name on your Voter ID card (EPIC) is essential to ensure a smooth voting process and maintain correct electoral records. If your name is misspelled, or if you have changed your name due to marriage or legal reasons, you can correct it entirely online. The Election Commission of India (ECI) provides an official platform to update your voter details through Form 8. Prerequisites & Required Documents Before filling out the online form, keep a scanned, self-attested copy of one of the following supporting documents ready as proof for the name change: Step-by-Step Process to Change Name Online You can submit your application online through the official Voters’ Services Portal or via the Voter Helpline App. Step 1: Access the Portal Step 2: Open Form 8 Step 3: Select Correction Type Step 4: Fill in Correct Details & Upload Proof Step 5: Submit the Application How to Track Application Status Once submitted, the Election Commission processes your request, which usually takes around 2 to 3 weeks to complete field verification. You can check the status at any time: Once approved, the corrected name will reflect in the next official voter list, and a replacement digital copy (e-EPIC) can be downloaded instantly via the portal. Conclusion Correcting a mistake or legally changing your name on your Voter ID card ensures your dynamic civic records stay fully verified. By using the official online Form 8 portal or the mobile application, you can bypass manual verification queues at electoral offices. Ensure your supporting document clearly displays the new formatting to guarantee an administrative approval. For more simplified step-by-step guides on civil document updates, registration portals, and identity verification compliance, visit Sarkari Bakery to streamline your day-to-day administrative needs. Frequently Asked Questions (FAQs)

sdm order for birth certificate
Documents

How to Get SDM Order for Birth Certificate: A Complete Step-by-Step Guide

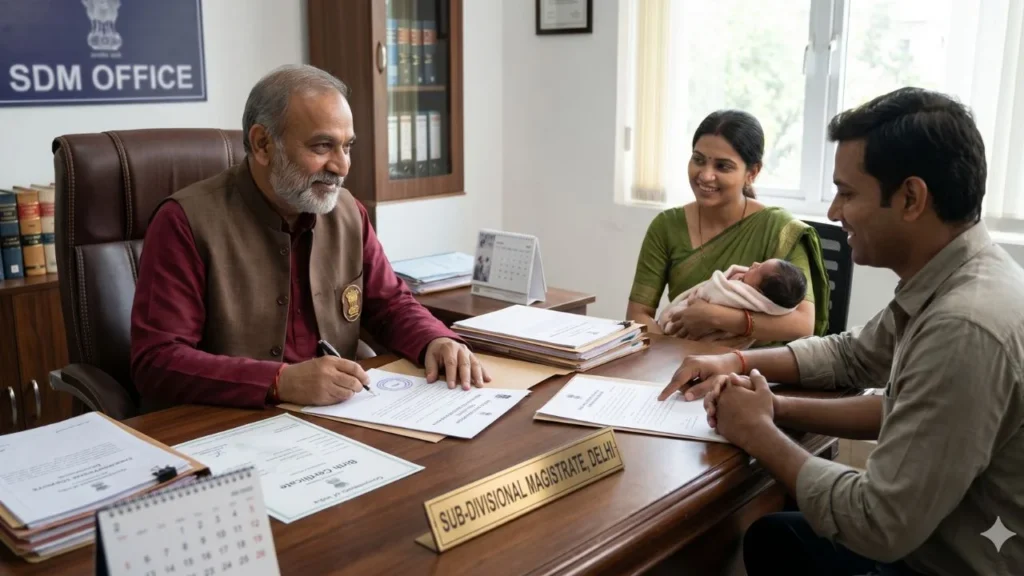
In India, a Birth Certificate is the most fundamental identity document. It is required for school admissions, passports, insurance, and even for obtaining other ID proofs. But what happens if your birth wasn’t registered when you were born? If you are trying to apply for a birth certificate after one year of the birth, the standard process won’t work. You will need a mandatory SDM Order (Sub-Divisional Magistrate Order). This process is legally known as Delayed Birth Registration. In this guide, we will explain why you need this order, the documents required, and the exact process to get it without falling into the trap of middlemen. Why is an SDM Order Required? Under the Registration of Births and Deaths Act, 1969, the government has set specific timelines for registration: Documents Required for SDM Order for Birth Certificate Preparation is key. Ensure you have the following documents ready to avoid multiple visits to the SDM office: 1. Non-Availability Certificate (NAC) This is the most important document. You must first apply for a birth certificate at your local Municipal Corporation. Since your birth isn’t registered, they will issue a Non-Availability Certificate, stating that your record does not exist in their books. 2. Proof of Birth Place 3. Proof of Identity & Residence 4. Supporting Evidence for Date of Birth 5. Affidavit A notarized affidavit on a non-judicial stamp paper. It must mention: Step-by-Step Process: How to Apply Step Action Description Step 1 Apply for NAC Visit the Municipality/Registrar office and get the Non-Availability Certificate. Step 2 Draft Application Write an application to the SDM of your area (where the birth occurred). Step 3 Submission Submit the application along with the NAC, Affidavit, and ID proofs at the SDM office or e-District portal. Step 4 Verification The SDM will send your file to the local police station or Tehsildar for field verification. Step 5 Order Issuance Once the verification report is positive, the SDM signs the order. Step 6 Final Certificate Submit this SDM order to the Registrar to get your original Birth Certificate. Pro Tips for a Smooth Approval Timeline and Fees Conclusion Getting a birth certificate after many years might seem like a daunting task, but it is a vital legal step to secure your identity. By following the SDM order process correctly, you ensure that your birth record is legally sound and valid for all future purposes like Visas or Government Jobs. For more simplified guides on legal documents and government schemes, keep visiting Sarkari Bakery. We help you navigate through complex government procedures with ease! Frequently Asked Questions (FAQs)

GST Consent Letter for Registration
Documents

GST Consent Letter for Registration: A Complete Guide on Format & Requirements

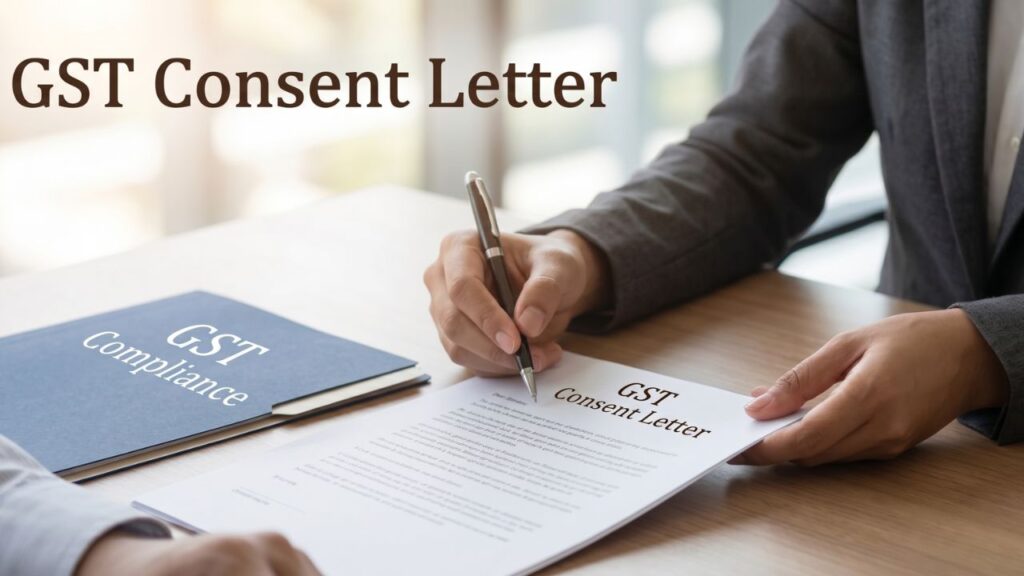
Starting a business from home or a shared space is the new norm for modern entrepreneurs. However, a common hurdle arises during GST registration: What if the business premises are not in your name? Whether you are operating from your father’s house, a relative’s property, or a friend’s office without a formal rent agreement, the GST department requires a legal “green light” from the property owner. This document is known as the Consent Letter or NOC (No Objection Certificate). What is a GST Consent Letter? A GST Consent Letter is a formal declaration by the owner of a property stating that they have permitted a specific person (the taxpayer) to use their premises for business purposes. Since the GST portal requires proof of “Principal Place of Business,” and you don’t have a sale deed or rent agreement in your name, this letter acts as the legal link between you and the registered address. When do you need it? Why Most GST Applications Get Rejected (Pro Tips) While the concept is simple, many taxpayers face rejection due to minor clerical errors. Here is “what the portal doesn’t tell you”: Documents to Upload with the Consent Letter The Consent Letter alone is not “Proof of Possession.” You must pair it with one of the following documents belonging to the owner: 📄 GST Consent Letter Format (Simple & Correct) You can use this format 👇 📝 Sample Format CONSENT LETTERTO WHOMSOEVER IT MAY CONCERNI, [Owner’s Name], owner of the property located at [Full Address],hereby give my consent to [Business Owner’s Name] to use the said premisesfor conducting business activities.I have no objection to the use of this address for GST registrationand official communication.This letter is issued for the purpose of GST registration.Signature: ___________Name: ___________Date: ___________Place: ___________ Step-by-Step: How to Upload on the GST Portal Follow these steps: Conclusion The Consent Letter is a simple yet powerful document that saves you from the costs of renting a commercial space when you are just starting out. By following the professional format above and ensuring your address matches your utility bills, your GST registration can be approved smoothly. For more simplified legal guides and updates on business compliance, you can check out resources like Sarkari Bakery to stay informed. Frequently Asked Questions (FAQs)

How to Change Photo and Signature in PAN Card
Documents

🪪 PAN Card Correction Form: How to Correct PAN Details Online Without Mistakes

If your PAN card has even a small mistake — like a wrong name spelling, incorrect date of birth, or outdated address — it can create serious problems in: 👉 And here’s what most people don’t realize:Even a minor mismatch can lead to rejection of financial services. The good news is — you can fix it easily online.But the process must be done carefully. 📌 When Should You Apply for PAN Card Correction? You should apply for correction if: ✔ Name spelling is incorrect✔ Date of birth is wrong✔ Father’s name mismatch✔ Photo/signature unclear✔ Mobile/email not updated✔ Address has changed✔ Aadhaar and PAN details don’t match ⚠️ Real Problem Example You apply for a bank loan. PAN shows: “Rakesh Kumar”Aadhaar shows: “Rakesh K.” 👉 Verification fails👉 Application rejected 👉 Lesson:Small errors = big problems 🌐 How to Apply for PAN Card Correction Online (Step-by-Step) You can apply through: ✔ Step-by-Step Process 📩 After Submission 👉 Always save this number 🧾 Offline Method (When Online Is Not Suitable) If you’re not comfortable online: 👉 Useful for: 📄 Documents Required for PAN Correction (Important Section) This is where most people make mistakes. ✔ Identity Proof ✔ Address Proof ✔ Date of Birth Proof ⚠️ Biggest Mistake (Very Important) 👉 Uploading wrong document type Example: ❌ Application rejected 🔁 Special Case: Name Change in PAN ✔ For Marriage ✔ For Legal Name Change 👉 Without proper proof, name change will not be approved. 💰 PAN Card Correction Fees (Updated) Type Fees e-PAN (email only) ₹66–₹72 Physical card (India) ₹101–₹107 Physical card (outside India) ₹1,000+ 👉 Smart Tip:If you don’t need physical card → choose e-PAN (cheaper & faster) ⏱️ How Long Does PAN Correction Take? 🔍 How to Track PAN Correction Status 👉 Status stages: 🛑 Common Mistakes That Cause Rejection ❌ Name mismatch in documents❌ Blurred uploads❌ Wrong document selection❌ Signature mismatch❌ Incorrect DOB 👉 Reality:Most delays happen due to user mistakes, not system issues 🧠 Practical Scenario (Real Understanding) Person A: Person B: 👉 Difference = Accuracy 📊 Online vs Offline – What Should You Choose? Situation Best Option Simple correction Online Complex changes Offline Not tech-friendly Offline Fast processing Online 🛡️ Pro Tips (Hidden but Powerful) ✔ Always match PAN with Aadhaar✔ Use clear scanned documents✔ Double-check spelling before submit✔ Keep mobile number active✔ Save acknowledgement safely 📌 What Most Websites Don’t Tell You 👉 PAN correction is easy👉 But rejection is also very common The difference is: 🔚 Conclusion Correcting your PAN card details is no longer difficult — but it must be done carefully. If your PAN details are incorrect, don’t delay: ✔ Fix it before filing ITR✔ Fix it before linking Aadhaar✔ Fix it before financial transactions 👉 Correct PAN = smooth financial life For more practical, real-world guides on PAN, Aadhaar, banking, and government services, visit Sarkari Bakery, where the focus is not just information — but solving real problems. ❓ FAQs

What is Form 19
Documents

📄 What is Form 19? Complete Guide to EPF Withdrawal Form, Eligibility, Process & Rules

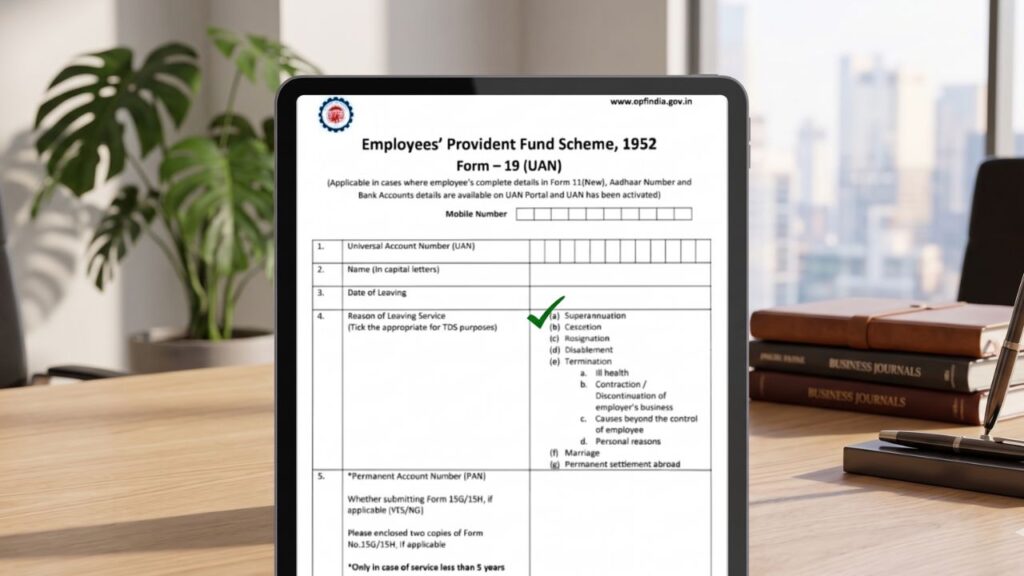
If you have ever left a job and wanted to withdraw your Provident Fund (PF), you may have heard about Form 19. But many people are confused about: 👉 This guide explains everything in detail, so you can understand and use Form 19 correctly without mistakes. 📌 What is Form 19? Form 19 is an official form used by employees to withdraw their EPF (Employee Provident Fund) amount after leaving a job. 👉 It is also known as: ✔ Simple Explanation When you leave a company and do not want to transfer your PF to a new employer, you can use Form 19 to withdraw the full PF balance. 👉 In short:Form 19 = Form used to withdraw your PF money after leaving a job 🧠 When Should You Use Form 19? You should use Form 19 in specific situations. ✔ Use Form 19 When: ❌ Do NOT Use Form 19 When: 👉 In those cases, you should use Form 13 (PF Transfer). 📊 Form 19 vs Other EPF Forms Understanding the difference is very important. Form Purpose Form 19 PF withdrawal (final settlement) Form 10C Pension withdrawal Form 13 PF transfer Form 31 Partial withdrawal 👉 Using the wrong form can delay your claim. 👨‍💼 Who Can Apply for Form 19? ✔ Eligibility Criteria 👉 Without these, your claim may get rejected. 📄 Documents Required for Form 19 Before applying, keep these ready: ✔ Required Documents 👉 All details must match EPFO records. 🌐 How to Fill Form 19 Online (Step-by-Step) The online method is the easiest and fastest way. Step 1: Login to UAN Portal Visit EPFO member portal and login using: Step 2: Go to “Online Services” After login: 👉 Click on Online Services Step 3: Select “Claim (Form-31, 19, 10C)” You will see: 👉 Claim option for withdrawal Step 4: Verify Bank Details 👉 This ensures money is transferred correctly. Step 5: Select “Form 19” Now choose: 👉 Form 19 – Final Settlement Step 6: Submit Claim Step 7: OTP Verification 👉 Your claim is now submitted. ⏳ Processing Time 👉 You can track status online. 💰 What Amount You Get in Form 19? Form 19 allows you to withdraw: ✔ Employee contribution✔ Employer contribution✔ Interest earned 👉 Full PF balance is credited to your bank account. 💸 Tax Rules on PF Withdrawal ✔ Tax-Free Conditions ❌ Taxable If: 👉 TDS may be deducted in such cases. 🚨 Common Reasons for Form 19 Rejection Many people face rejection due to small mistakes. ❌ Common Issues 👉 Always check details before applying. 🛡️ Important Tips (High Value Section) ✔ Ensure KYC is complete✔ Check exit date is updated✔ Use correct bank details✔ Wait 2 months after leaving job✔ Track claim regularly 🔄 Can You Cancel Form 19 Claim? 👉 No, online cancellation is not allowed. ✔ What You Can Do: 📊 Form 19 Process Flow (Simple Understanding) Step Action Step 1 Login to UAN Step 2 Select claim Step 3 Choose Form 19 Step 4 Submit & verify Step 5 Get payment 👉 Simple process if done correctly. 🔚 Final Conclusion Form 19 is one of the most important EPF forms used for full PF withdrawal after leaving a job. ✔ Easy online process✔ Fast settlement✔ Direct bank transfer 👉 If you follow the correct steps and avoid mistakes, you can receive your PF amount without any delay. For more guides on PF, tax, and government services, explore Sarkari Bakery, where content is designed to help users solve real problems step by step. ❓ FAQs

General Power of Attorney
Documents

🏠 General Power of Attorney (GPA) in Property: Everything Buyers Must Know

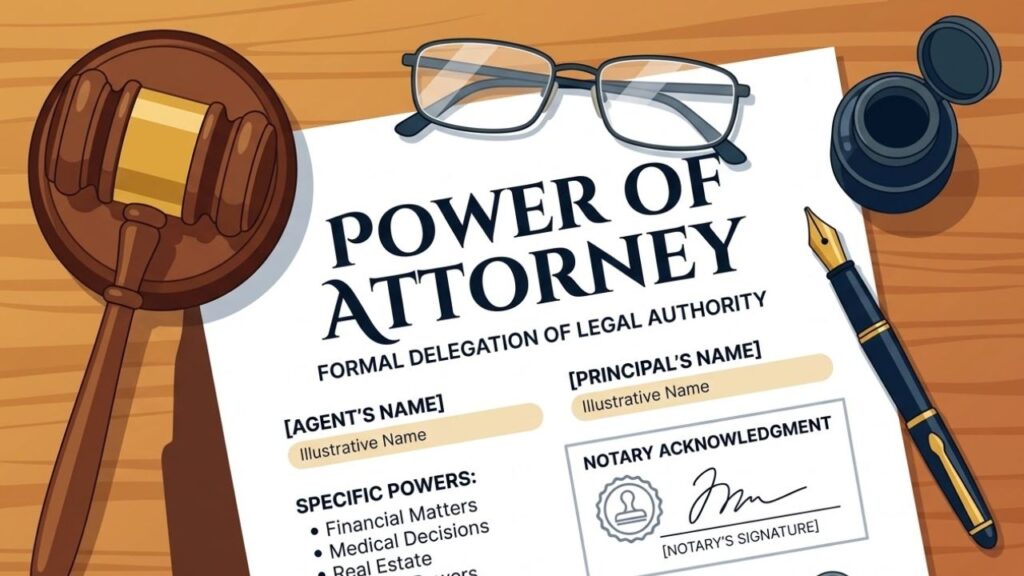
If you’re planning to buy property—especially in places like Delhi, NCR, or older colonies—you may come across deals described as “GPA property.” 👉 At first glance, these deals look cheaper and easier.👉 But here’s the truth: GPA-based property transactions carry legal risks that every buyer must understand before paying even ₹1. This guide goes beyond basic definitions and helps you: 📌 What Is General Power of Attorney (GPA)? A General Power of Attorney (GPA) is a legal document where one person (owner) gives authority to another person (agent) to act on their behalf. In property terms, GPA allows the agent to: 👉 But here’s the key point:GPA gives authority — it does NOT transfer ownership. 🧠 Simple Example Mr. A gives GPA to Mr. B 👉 Mr. B can act like owner❌ But legally, ownership still remains with Mr. A ⚖️ Is GPA Property Legal in India? This is the most important question. 👉 The Supreme Court of India in the landmark Suraj Lamp & Industries Pvt Ltd vs State of Haryana case clearly stated: ❌ GPA cannot be used to transfer ownership❌ GPA sale is not a valid property sale ✔ What Is Legal? ✔ Registered Sale Deed✔ Proper property registration ⚠️ What GPA Can Be Used For ✔ Managing property✔ Authorizing someone to act✔ NRI property handling 👉 But NOT for ownership transfer 🚨 Why GPA Property Became Popular GPA property deals became common due to: 👉 But most of these reasons are legally risky today ⚠️ Major Risks of Buying GPA Property ❌ 1. No Legal Ownership Even after payment: 👉 You are NOT the legal owner ❌ 2. High Risk of Fraud ❌ 3. No Bank Loan Banks usually do NOT approve loans for GPA properties. ❌ 4. Property Disputes ❌ 5. Government Action Risk Some authorities may: 📊 GPA vs Sale Deed (Clear Comparison) Feature GPA Property Sale Deed Property Ownership ❌ Not transferred ✔ Fully transferred Legal validity Weak Strong Bank loan Not allowed Allowed Risk level High Low 👉 Golden Rule:“Cheap GPA deal today can become expensive legal problem tomorrow” 🧾 When GPA Is Actually Useful GPA is not always bad. It is useful in cases like: ✔ NRI appointing someone in India✔ Property management✔ Legal representation✔ Temporary authority 👉 But not for buying property ownership 🧠 Real-Life Scenario Buyer sees: 👉 Looks attractive After purchase: 👉 Loss + stress 🛑 Common Mistakes Buyers Make ❌ Thinking GPA = ownership❌ Trusting broker blindly❌ Not checking legal status❌ Ignoring registration requirement❌ Buying only for low price 🔍 How to Stay Safe as a Buyer ✔ Always demand registered Sale Deed✔ Verify property ownership documents✔ Check property registry records✔ Consult a property lawyer✔ Avoid “too cheap” deals 📌 Special Note (Delhi & NCR Buyers) In many areas: 👉 Always verify before buying ⚖️ Can GPA Property Be Converted to Legal? In some cases: ✔ Yes (through proper registration process)❌ But not always guaranteed 👉 Depends on: 🧠 Final Decision Guide Situation What You Should Do Only GPA offered Avoid GPA + Sale Deed Accept (if verified) Low price deal Verify deeply Legal documents clear Safe 🔚 Conclusion A General Power of Attorney (GPA) is a useful legal document — but not a tool for property ownership transfer. 👉 Buying property through GPA alone is risky, legally weak, and often leads to disputes. If you are investing your hard-earned money: ✔ Choose legally registered property✔ Verify documents carefully✔ Avoid shortcuts For more real, practical guides on property, legal rules, and government-related topics, explore Sarkari Bakery, where content focuses on helping you make smarter decisions. ❓ FAQs (Accordion)

Understanding Passport Categories and Their Importance
Documents

Understanding Passport Categories and Their Importance (India 2026 Guide)

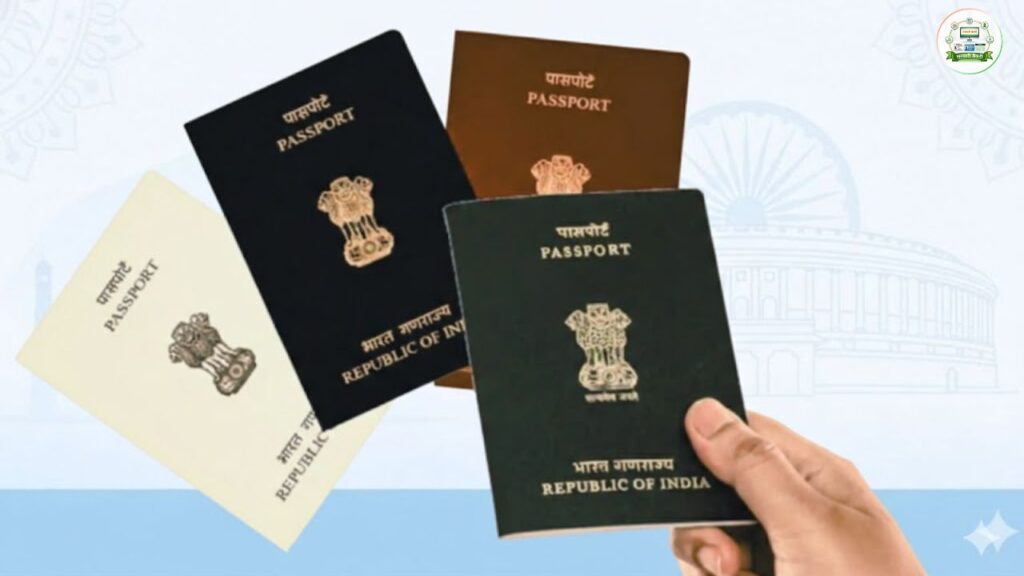
When applying for an Indian passport, many people focus only on filling the form and booking an appointment. However, selecting the correct passport category is equally important. Choosing the wrong category can delay your application, trigger additional verification, or even lead to rejection. This guide explains the different passport categories in India, what they mean, and why selecting the right one matters. What Are Passport Categories? Passport categories refer to the type of passport application and booklet you are applying for, based on your situation. They determine: Understanding them helps avoid mistakes during application. 1️⃣ Fresh Passport This category is for: Key Points If you had a passport before (even expired), do NOT select Fresh. 2️⃣ Reissue of Passport This is the most commonly misunderstood category. Reissue applies when: There is no separate “renewal” category in India.Renewal is processed under Reissue. 3️⃣ Normal Passport Scheme Under this scheme: Suitable when travel is not urgent. 4️⃣ Tatkal Passport Scheme Tatkal is the fast-track option. Features Important: Tatkal is not guaranteed approval. Documents must be correct. 5️⃣ Passport Booklet Types When applying, you must choose between: 36-Page Booklet 60-Page Booklet Choosing the correct booklet avoids running out of pages quickly. 6️⃣ ECR vs ECNR Category This category relates to emigration clearance. ECR (Emigration Check Required) Applies to: ECNR (Emigration Check Not Required) Applies to: Selecting the wrong category may cause travel restrictions later. 7️⃣ Minor Passport Category For applicants under 18 years: Minor category has different documentation rules. 8️⃣ Diplomatic and Official Passport These are not for general public. Diplomatic Passport (Maroon Cover) Issued to: Official Passport (White Cover) Issued to: Most citizens apply for ordinary passport (blue cover). Why Choosing the Right Category Is Important Selecting the correct category ensures: ✔ Faster processing✔ Correct police verification✔ Proper fee calculation✔ Avoidance of rejection✔ Accurate passport validity Wrong category may cause: Common Category Mistakes Double-check before submitting. How to Select the Correct Category Before applying, ask yourself: Answering these helps select correct option. Can Category Be Changed After Submission? In most cases, once application is submitted: Always review carefully before payment. Final Checklist Before Applying ✔ Correct category selected✔ Proper scheme chosen (Normal/Tatkal)✔ Booklet size selected carefully✔ ECR/ECNR status verified✔ Previous passport details entered This prevents unnecessary delays. Conclusion Passport categories are not just formality — they directly affect how your application is processed. Whether it’s Fresh, Reissue, Normal, Tatkal, or selecting the correct ECR status, every choice matters. Understanding these categories ensures smoother approval, fewer complications, and timely passport issuance. For more simplified guides on passport rules and government documentation, visit Sarkari Bakery. FAQs

Tatkal Passport
Documents

Tatkal Passport: Fast-Track Passport Service in India

If you need a passport urgently due to travel, medical emergency, job opportunity, or education abroad, the Tatkal Passport scheme can help you get it faster than the normal process. However, many people misunderstand how Tatkal works. It is faster — but not a shortcut. Verification rules still apply. This detailed guide explains eligibility, documents, fees, processing time, police verification, and common mistakes to avoid. What Is Tatkal Passport? Tatkal is a priority processing scheme offered by the Passport Seva system to issue passports on an urgent basis. Under Tatkal: Tatkal does not guarantee approval. Your documents must be correct. Who Can Apply for Tatkal Passport? Most Indian citizens can apply under Tatkal, including: However, Tatkal may not be allowed in certain sensitive cases such as serious criminal background or incomplete documentation. Processing Time for Tatkal Passport After Successful PSK Visit Note:Delays may occur if: Tatkal Passport Fees (Approximate) Tatkal fee is higher than normal passport. Fees depend on: Tatkal fee = Normal fee + Tatkal additional charge. Exact fees can be checked during online application. Police Verification in Tatkal Many applicants believe Tatkal skips police verification. That is incorrect. In most cases: If police report is adverse later: So always provide accurate information. Documents Required for Tatkal Passport For Fresh Passport You generally need: For Reissue For Lost Passport Document requirements may vary based on case. How to Apply for Tatkal Passport Step 1: Register/Login on Passport Seva Portal. Step 2: Select “Fresh” or “Reissue”. Step 3: Choose “Tatkal” option. Step 4: Fill application carefully. Step 5: Pay Tatkal fee online. Step 6: Book earliest available PSK appointment. Step 7: Visit PSK with all documents. Who May Not Be Eligible for Tatkal? Tatkal may be restricted in cases such as: Each case is examined individually. Common Mistakes in Tatkal Applications Tatkal speeds up processing but does not relax scrutiny. Is Tatkal Guaranteed? No. Tatkal is a priority service — not guaranteed approval. If documents are not satisfactory: When Should You Use Tatkal? Tatkal is suitable when: If travel is months away, normal passport is usually sufficient. Can Tatkal Be Converted to Normal? If Tatkal is not approved: What Happens After Tatkal Issuance? Even after receiving passport: Always provide correct information. Is Tatkal Available for Minors? Yes, Tatkal can be used for minors, but parental documentation must be complete. Final Tips for Smooth Tatkal Approval ✔ Ensure documents are consistent✔ Double-check name and DOB✔ Be available for police verification✔ Avoid agents and middlemen✔ Apply early in the day for faster appointment availability Preparation ensures faster approval. Conclusion Tatkal Passport is a useful fast-track option for urgent travel needs, but it is not a shortcut around rules. Police verification, document accuracy, and background checks remain mandatory. If your documents are clear and your information is accurate, Tatkal can help you receive your passport within a few days. For more simplified guides on government documentation and processes, visit Sarkari Bakery. FAQs

Lost or Damaged Passport
Documents

Lost or Damaged Passport? Here’s What You Should Know

Losing your passport or having it damaged can be stressful — especially if you have upcoming travel plans. A passport is not just a travel document; it is an internationally recognized identity proof issued under the Passports Act, 1967. If your passport is lost, stolen, or damaged, you must act quickly and follow the correct legal procedure to avoid delays or complications. This guide explains what to do, documents required, fees, police reporting rules, and how to prevent rejection during reissue. First: Understand the Situation There are two main cases: 1️⃣ Lost or Stolen Passport 2️⃣ Damaged Passport The procedure is slightly different for each case. If Your Passport Is Lost in India Step 1: File an FIR Immediately Visit your nearest police station and file an FIR (First Information Report). This is mandatory. Keep: Without FIR, your reissue application may be rejected. Step 2: Apply for Passport Reissue There is no “duplicate passport” system. You must apply under:👉 Reissue of PassportReason: Lost passport While applying online, select: Step 3: Required Documents for Lost Passport You will generally need: If you don’t have a copy of your old passport, provide as many details as possible. If Your Passport Is Lost Abroad If you lose your passport outside India: Embassy will guide you through the process. If Your Passport Is Damaged There are two types of damage: Minor Damage Major Damage What To Do for Damaged Passport Apply for:👉 Reissue of PassportReason: Damaged passport You must carry: If damage is severe, the case may be examined more strictly. Police Verification in Lost/Damaged Cases In lost passport cases:✔ Police verification is almost always required✔ Background check may be stricter Repeated loss may trigger detailed scrutiny. For damaged passport: Fees for Lost or Damaged Passport Fees are generally higher than normal reissue. Tatkal option is available in many cases, but approval depends on document strength and background. What Happens to the Old Passport? In Case of Damage Old passport is cancelled and returned. In Case of Loss Old passport number is blacklisted in system to prevent misuse. Important Things to Remember 1️⃣ Do Not Hide Loss Never try to say passport is “damaged” if it is actually lost.False declaration can lead to serious legal issues. 2️⃣ Avoid Delays in FIR Delay in reporting lost passport may create suspicion. Report immediately. 3️⃣ Multiple Losses Raise Red Flags If you lose passport repeatedly: Be cautious. 4️⃣ Travel Plans May Be Affected Lost passport near travel date can disrupt plans. Apply early and consider Tatkal if eligible. How Long Does Reissue Take? Normal 2–4 weeks (average) Tatkal 2–7 working days (if approved) Lost passport cases may take slightly longer due to police verification. Can You Travel Without Passport If Lost? No. You cannot travel internationally without valid passport. If abroad, Embassy may issue Emergency Certificate for return to India. How to Prevent Passport Loss Treat passport as a sensitive legal document. Final Checklist Before Applying for Reissue ✔ FIR filed (if lost)✔ Correct reason selected online✔ Old passport copy (if available)✔ Address proof updated✔ Honest declaration submitted✔ Available for police verification Proper preparation ensures faster approval. Conclusion Losing or damaging your passport is stressful but manageable if handled correctly. The key steps are filing FIR (if lost), applying under correct reissue category, and cooperating during police verification. Always provide truthful information. False declarations or fake documents can lead to rejection or legal trouble. If you follow proper procedure, your passport can be reissued smoothly. For more simplified government documentation guides, visit Sarkari Bakery. FAQs

Scroll to Top